17.6. Alert Settings
Alert settings is a section to manage the behavior of alerts in Motadata. Manage the following settings related to alerts in Motadata:
Business hours - Motadata sends a notification only in the business hours.
Mail Server - Configure the email address using from which you want to receive Motadata’s emails.
Severities - Change the severities color or name. Severities are used to indicate the health of the monitor.
Availability Status - Shows the status values used in Motadata for each availability status
Trap Filters - Type the OID for which Motadata SHOULD NOT receive traps.
Trap Forwarders - Type the IP and port of the device on which you want to forward the trap.
Trap Listener - Type the credentials to to enable monitoring of V3 type of traps.
Alert Correlation File Upload - Select to upload the Correlation file in form of .csv. Here, to upload the file, flag of Auto Correlation needs to be enabled in Global Settings. You can either upload the existing file with .csv or download the sample file and make required changes.

Alert Settings
17.6.1. Business Hours
Create the business hours profile in this section. A business hours profile contains the selection of working days and hours of a week. You’ll use these profiles across Motadata to manage the time of the notifications. Once you have configured the business hours profile with the alert, Motadata will evaluate the associated profile to send the alert. By default the business hour in Motadata server is 24x7.

Create/Edit Business Hours
Click on the +New button to create a new profile or to edit an existing profile. The GUI is same for both operations.
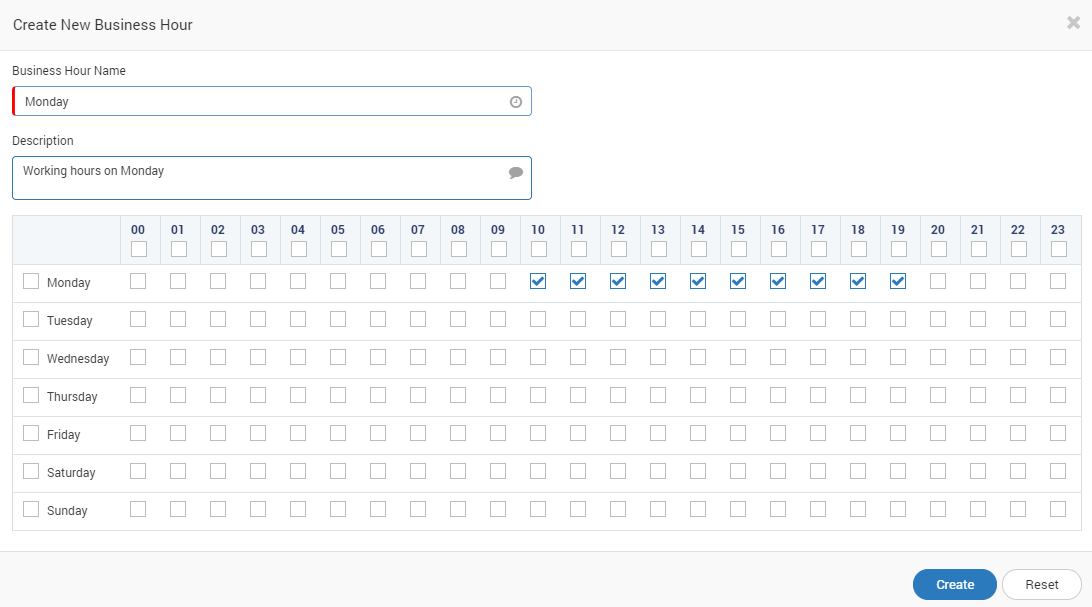
Manage Business Hours
Use the grid of weekdays and hours to manage a profile. For each day (say Monday), select the hours on which Motadata should send the alerts. For example, if the business hours are from 10 AM to 7 PM, select all the checkboxes from 10 to 19.
Note
Here, whatever last end time is selected in Business Hours, you will get an email for “+1 hour”. For Example. If you have selected Business Hours as 07:00AM-8:00AM you will get an email alert till 9:00 AM.
Delete Business Hours: Click on the delete button to delete the business hours. Note that, when you delete the business hours profile, the SLA using the profile will be affected. Motadata gives you a warning message to prevent accidental deletion of profile.
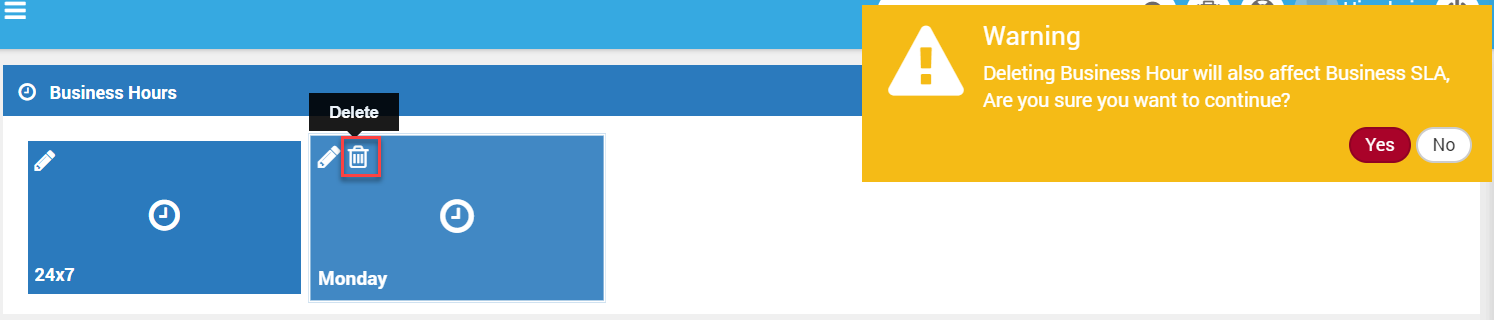
Delete Business Hours Profile
17.6.2. Mail Server
Motadata sends alert as the email using the mail server. Motadata uses SMTP for authentication. You can find the SMTP settings of the mail server on internet.
Configure Mail Server: To configure Mail Server, you need to mention the following parameters:
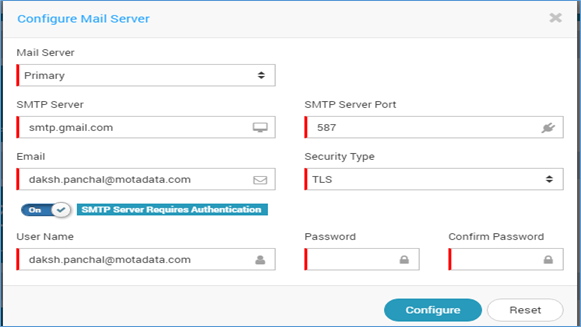
Configure Mail Server
Mail Server |
You can use two email servers:
|
SMTP Server |
Type the SMTP value of your email server. |
SMTP Server Port |
Type the port number of your SMTP email server. |
Type the email address using which Motadata will send email. |
|
Security Type |
Type the security-type used by your SMTP server. |
Username |
Type the username to authenticate the email address. |
Password |
Type the password to authenticate the email address. |
Confirm Password |
Type the password again to authenticate the email address. |
17.6.3. Severities
Motadata comes along with 10 pre-defined severities in ascending order based on the level of security. You’ll use these severities across the Motadata platform. Severity helps in indicating the health of your network. These severities are used while creating the alerts. Monitor alerts use Warning, Major, Critical, Unreachable and None severities while flow/log alerts uses all severities to create actions.
Severity Information: The order cannot be changed but the color associated with the severity can be changed.
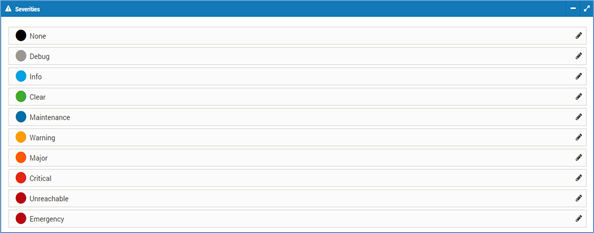
Severity Information
Update Severity: Select the name of severity and provide a new color code to it.
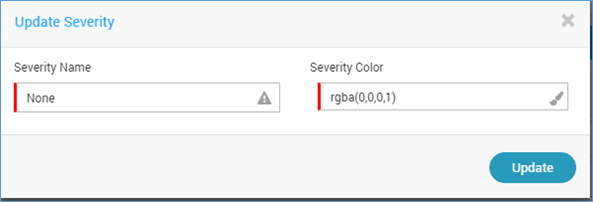
Update Severity
17.6.4. Availability Status
Availability status shows the status values against each availability status. These status are used across Motadata while creating the alerts or SLA.
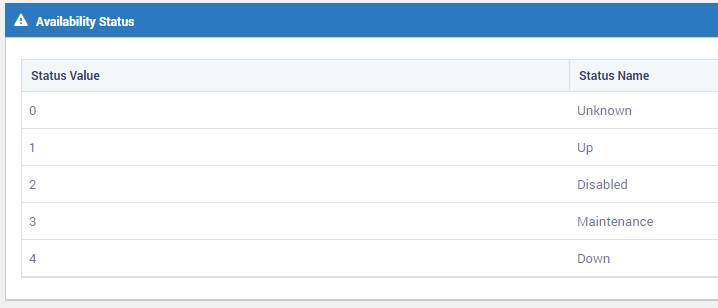
Availability Status
17.6.5. Trap Filters
With SNMP, each appliance sends SNMP traps for various component failures or status changes. To exclude the traps of certain SNMP devices, we create filters based on their OID. Using trap filters, you can create filters based on OID and/or Hostname. Click on the +New button to create a trap filter.

Trap Filters
In ‘Filter By’, select how you want to filter the traps. There are 2 types for the creation of the filters:
Inbound Filter
You can create a filter based on OID, hostname or both.
Based on the selection, type the OID and/or Hostname.
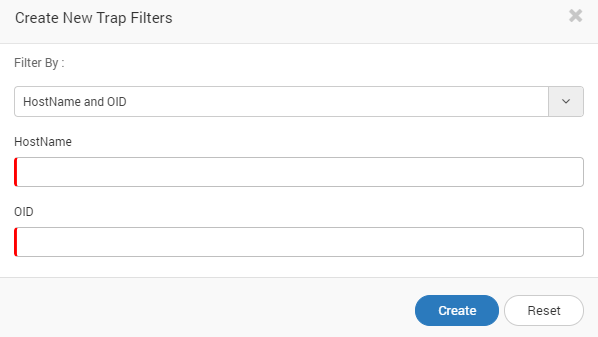
Create Inbound Trap Filter
Outbound Filters
We can create a filter based on trap OID, type and hostname and link it with the trap forwarder
Based on selection select the trap forwarded to be linked from the drop-down
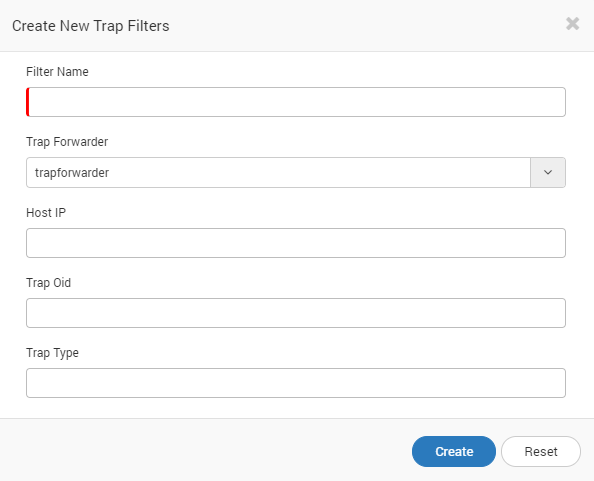
Create Outbound Trap Filter
17.6.6. Trap Forwarders
Trap forwarding is a feature that helps you to forward SNMP traps and License Traps from Motadata to another devices. The traps can be forwarded to the device by only configuring the host (to where you want to forward the trap) and port in Motadata. Though you can send the traps to any device, that device should have sufficient resources to receive and read the traps. Note that, when you set ‘Trap Forwarding’, Motadata forwards ALL of the Trap data.

Trap Forwarders
Click on the +New button to set the new trap forwarding address or click on the button to edit an existing address.
Fill up the below fields for trap creation.
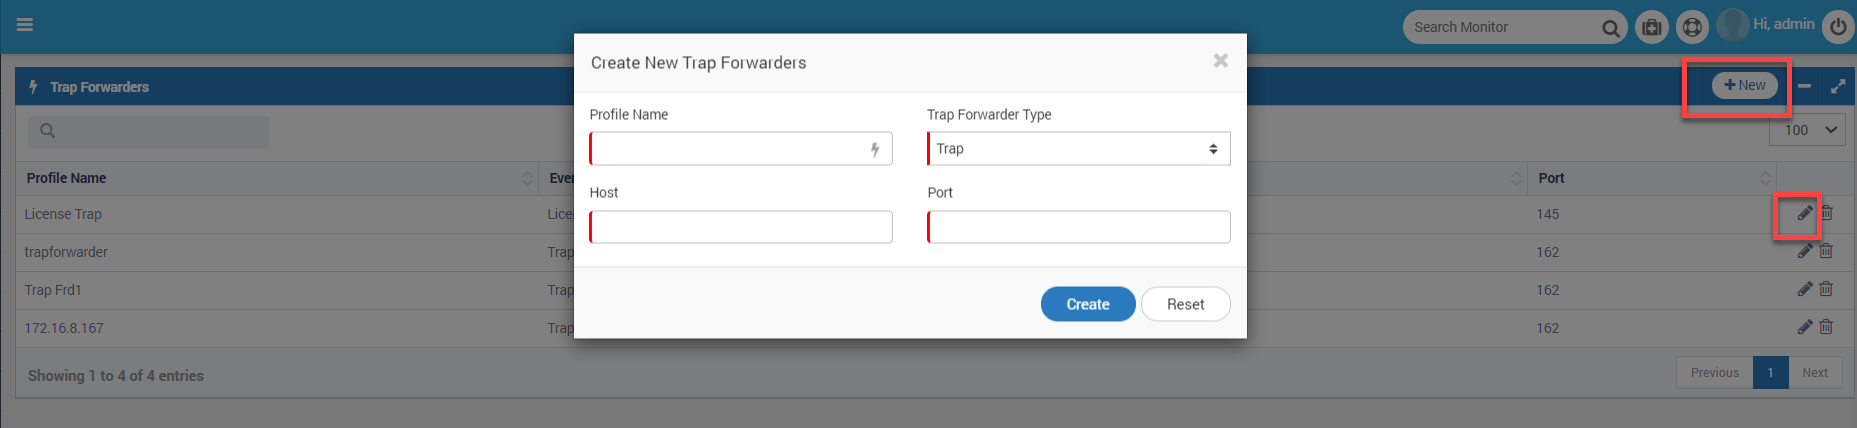
Trap Forwarding Settings
Profile Name: Mention the desired name of the trap
Trap Forwarder Type: You can select the Forwarder Type from the drop-down. Available options are: Trap and License
Host: Mention the IP of the host to where you want to forward the trap
Port: Mention the Port of the host
License Trap Forwarding
License Trap forwarding is mostly useful in case of notification or intimation about the expiry. Click on the +New button to set the new License trap forwarding address or click on the button to edit an existing address. Fill up the below fields for trap creation.
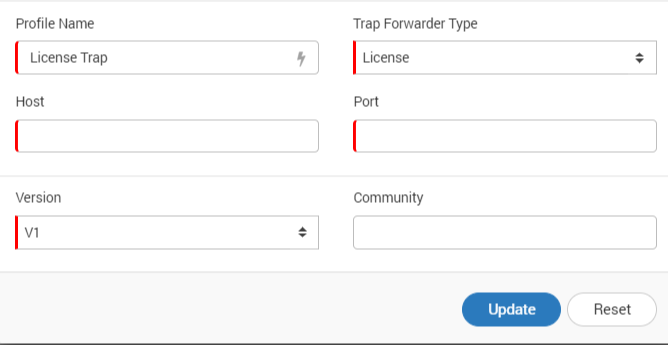
License Trap Forwarding
Profile Name: Mention the desired name of the trap
Trap Forwarder Type: You can select the Forwarder Type from the drop-down. Available options are: Trap and License
Host: Mention the IP of the host to where you want to forward the trap
Port: Mention the Port of the host
Version: Select the version of the Trap from the drop-down. Selection of the correct trap version is mandatory for trap forwarding
Community: Mention the community of the trap as desired. This is an optional field. It can be blank.
17.6.7. Trap Listener
Trap Listener allows Motadata to monitor the V3 version of traps. The V1 and V2 versions are available by default in Motadata. To enable monitoring of V3 version, configure the v3 version trap profile. You can configure only 1 v3 profile at a time. If you want a different profile, you can replace the existing profile. Also, you need to restart Motadata server after creating/updating the trap listener profile.
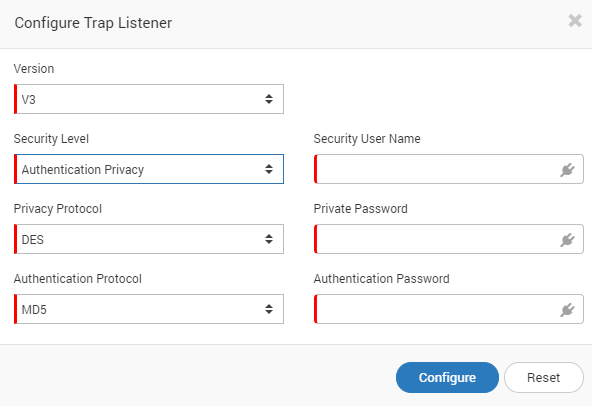
Trap Listener
Field |
Description |
Version |
Name of the trap vesion |
Security Level |
Level of security required by trap
|
Security Username |
Type the username to access the traps |
Authentication Protocol |
Select from the authentication protocol:
|
Authentication Password |
Type the password to authenticate accessing the traps |
Privacy Protocol |
Select from the list of privacy protocols:
|
Private Password |
Type the password for the privacy protocol |
Note that, some options may appear/disappear based on the level of security you select in ‘Security Level’.
17.6.8. Auto Correlation file Upload
Auto Correlation file upload allows you to upload a CSV file for establishing alert relations between any Child/Parent Devices or Monitors.
Here, you can upload a csv file from your local setup or download the Sample CSV provided and make the required changes.
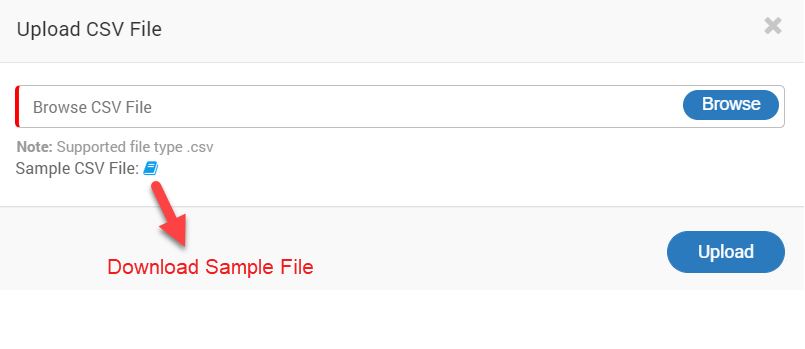
Auto Correlation File Upload